

- Home
- About Us
- Contact Us
- Blog
-
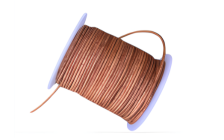
- Round Leather Cords
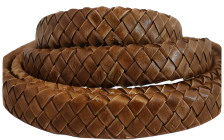
- Oval Braided Leather Cords
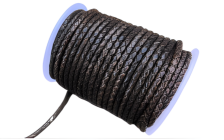
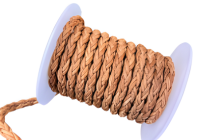
- Round Braided Leather Cords
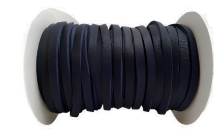
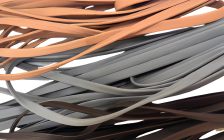
- Other Flat Leather Cords
- Nappa Leather Cords
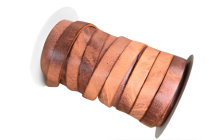
- Italian Flat Leather Cords
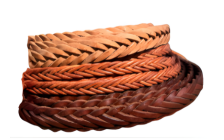
- Flat Braided Leather Cords
- Hawaii Bolo Braided cords
- Flat Leather Cords with Text Embossed
- Nappa Leather Cords with Swarovski
- Vegan Leather Cords
- Regaliz Leather Cords
- Hair-On Leather Cords
- Suede Leather Cords
- Stingray Cords
- Stiched and Studded Leather Cords
- Precut Round Leather Cord
- Italian Flat Leather with Fabric
- Round Hairy Leather Cords
- Barbed Wire Leather
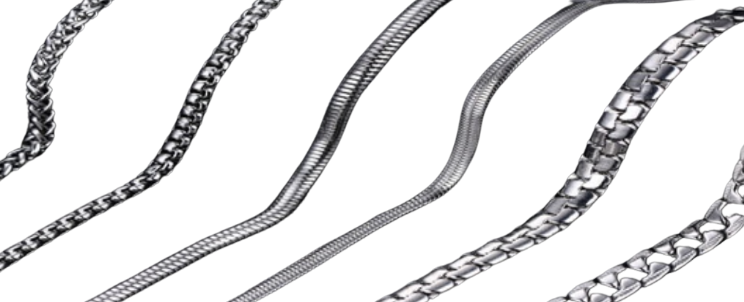
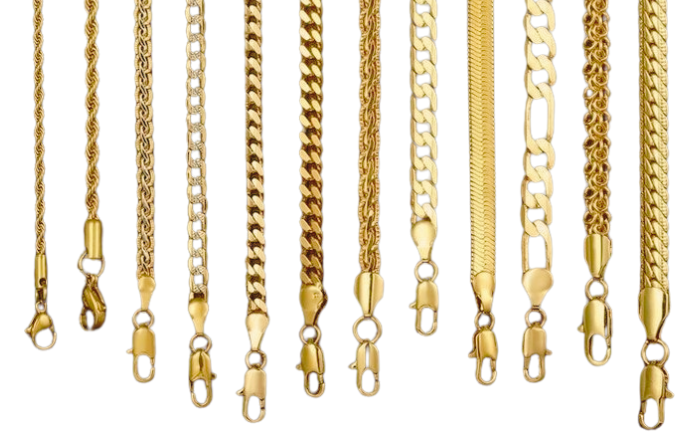
- Chain Style
Leather Cords
- Flat Leather Cords with Text Embossed
- Nappa Leather Cords with Swarovski
- Vegan Leather Cords
- Regaliz Leather Cords
- Hair-On Leather Cords
- Suede Leather Cords
- Stingray Cords
- Stiched and Studded Leather Cords
- Precut Round Leather Cord
- Italian Flat Leather with Fabric
- Round Hairy Leather Cords
- Barbed Wire Leather
- Chain Style
-
- Leather thread
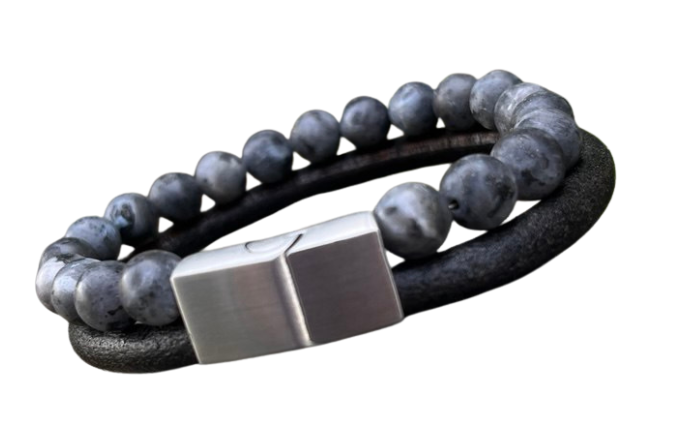
- Ready Leather Bracelets
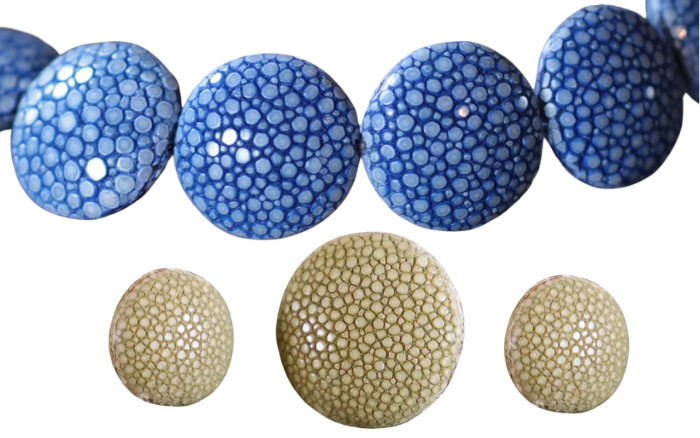
- Stingray Beads
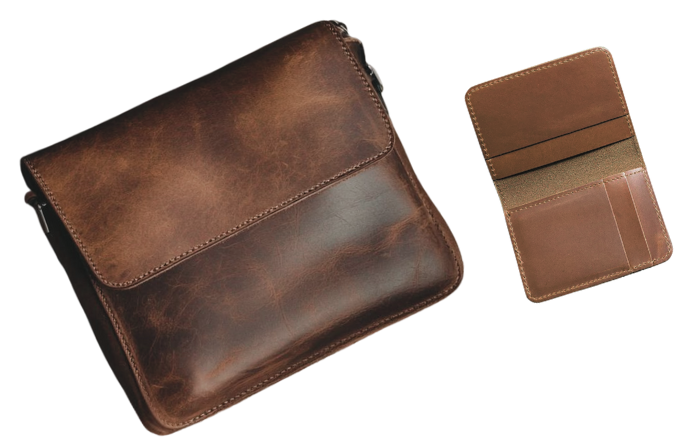
- Bags and wallets
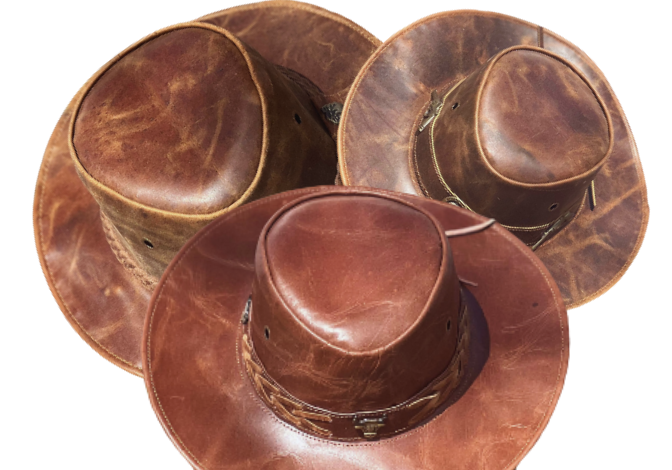
- Cowboys Hats
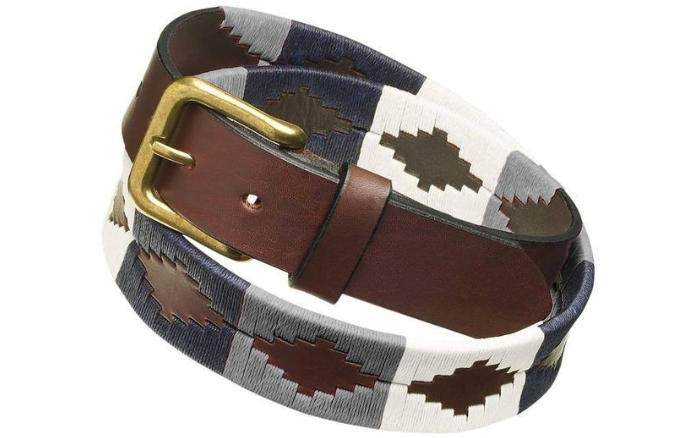
- Leather polo belts
- Stringray skins
- Italian Snap Button Leather Bracelet
- Leather Cushions
- Cow Hide Leather
- Leather mix packets
- Leather Mens Belts
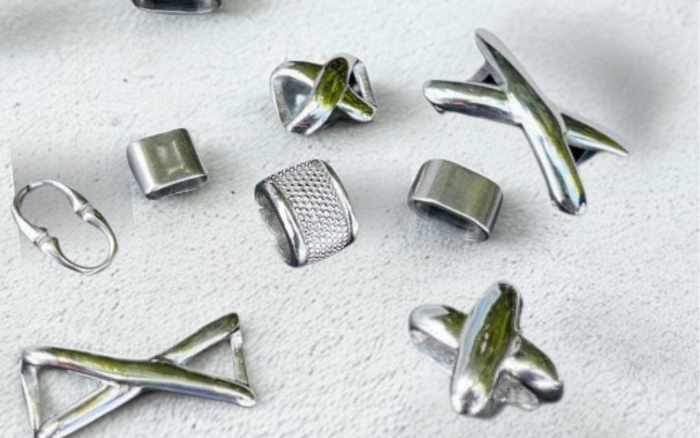
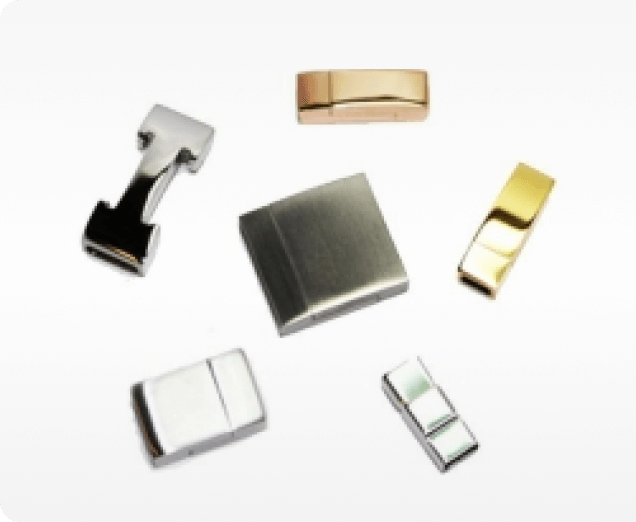
- Leather clips
- Water snake skins
- Ipad covers
- Leather Cord Glasses Hangers
- Leather key chains
- Leather Rings
- Leather Dog Collars
- Leather Bag Handles
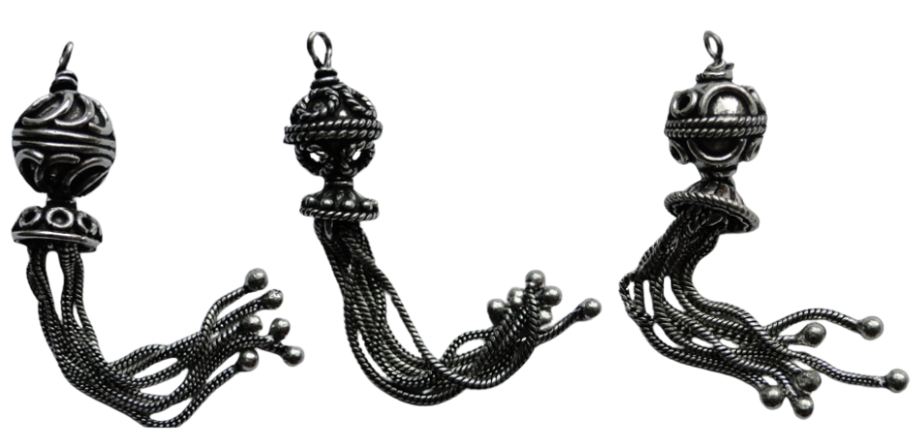
- Tassels
- Leather Fringe
- Leather Hides
- Leather Beads
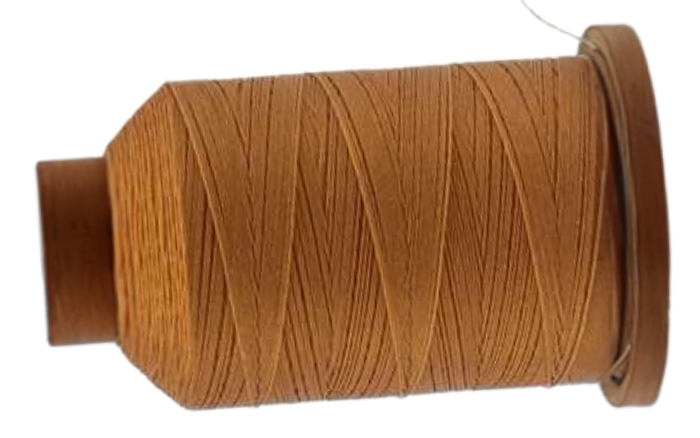
- Threads for leather
- Saddlery Products
- Leather Aprons
- Ready Leather Bracelets
- Leather Embellishments
Leather Accessories
- Leather Cushions
- Cow Hide Leather
- Leather mix packets
- Leather Mens Belts
- Leather clips
- Water snake skins
- Ipad covers
- Leather Cord Glasses Hangers
- Leather key chains
- Leather Rings
- Leather Dog Collars
- Leather Bag Handles
- Tassels
- Leather Fringe
- Leather Hides
- Leather Beads
- Threads for leather
- Saddlery Products
- Leather Aprons
- Ready Leather Bracelets
- Leather Embellishments
-
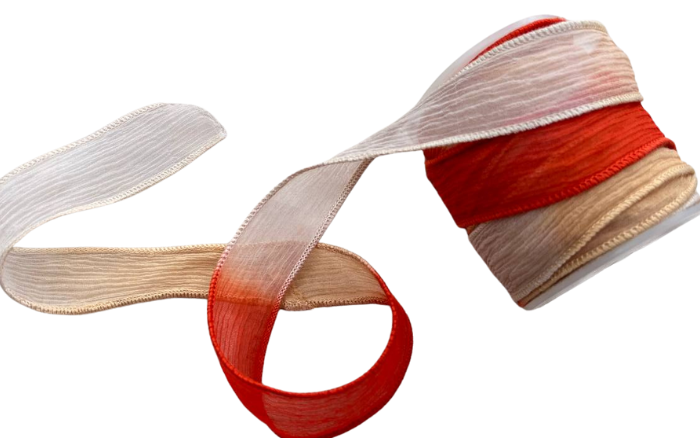
- Silk Ribbons tapers
- Habotai Silk
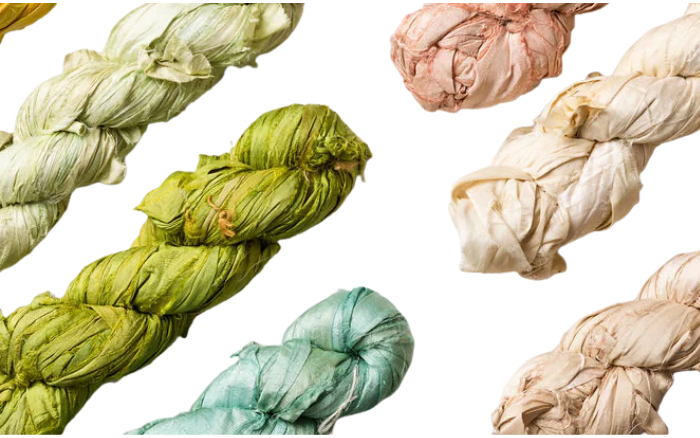
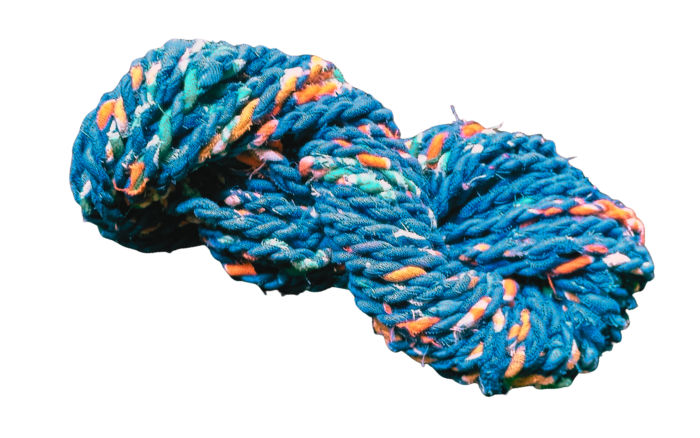
- Sari Silk
- Silk Ribbons on rolls
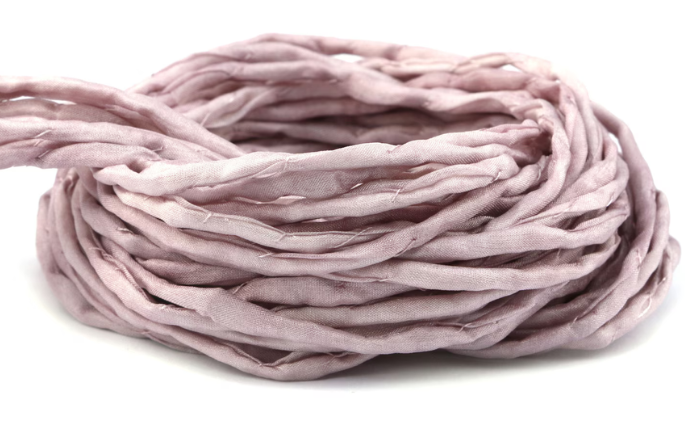
- Silk Cords
- Pure Rough Silk cord
- Silk Cords with inserts
- Cotton Cords
- Fabric with flowers round and flat
- Rubber Cords
- Silk Cords Flat
- Paracords
- Handmade silk wrap bracelet
- Cork sheets
- Cork Cords
- Silk Cotton
- Wire
- Velvet Cords
-
- Gemstones
- Beads
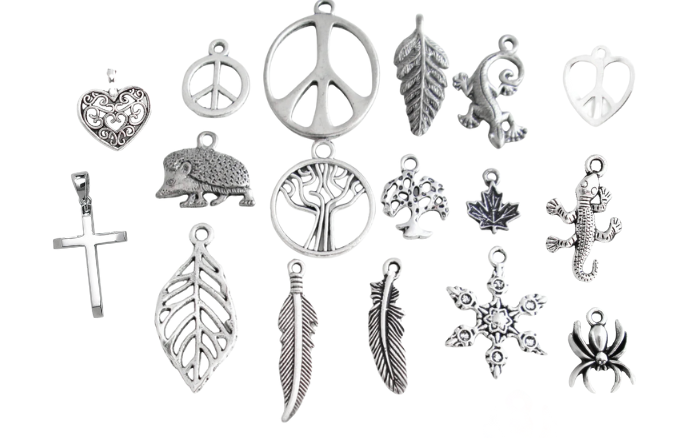
- Charms
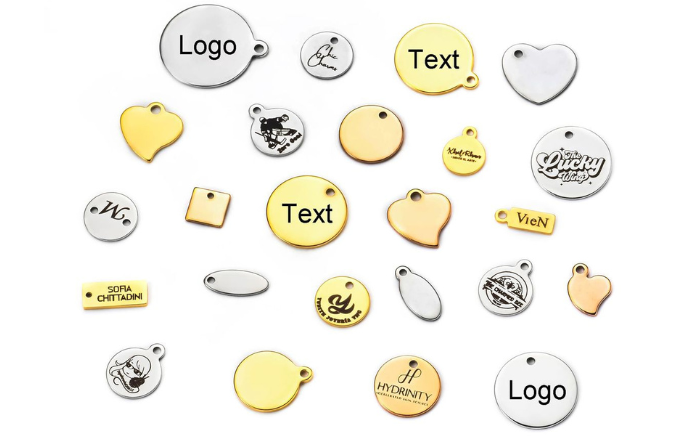
- Logo tags
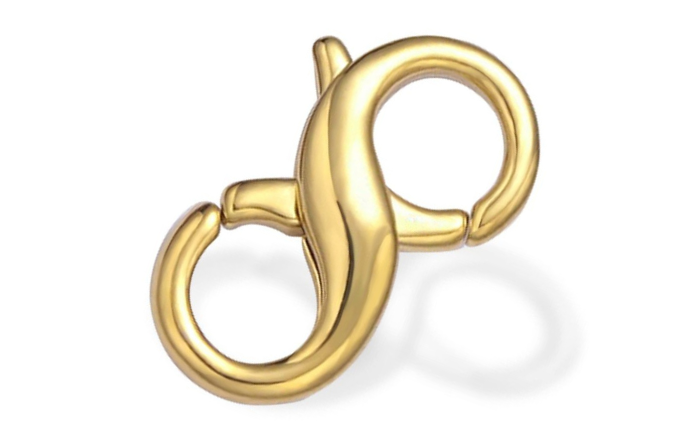
- Clasps
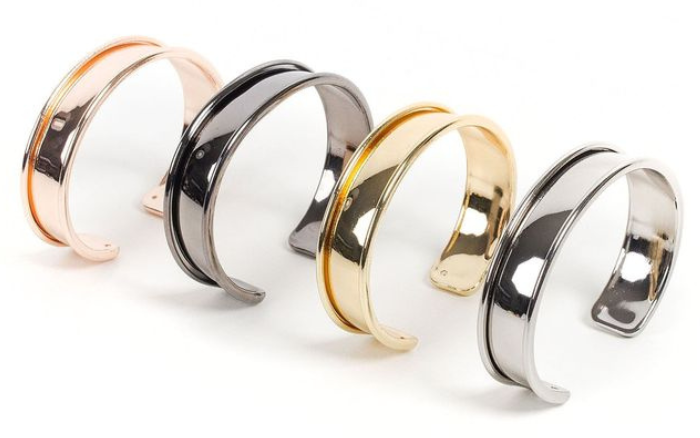
- Bracelet blanks (cuff)
- Pendants
- Connector clasp for cords
- Links and connectors
- Sliders and beads for cords
- End caps for cords
- Tassels
- Headpins and Eyepins
- Extension Chains
- Eye Glass Connectors
- Jump and split rings
- Bead Stoppers
- Crimp Beads
- Ear Findings
- Rings
-
- Textiles
- Ready Earrings
- Ready Stainless Steel Rings
- Ready Non-Stainless Steel Bracelets
- Leather tools
- Fur and Feather
- Glue
- Shawls
- Scarfs
- Glass jewellery
- Jewellery display
- Bracelets connectors
- Punching Machine and Chunks
- Magnifiers
- Cutters
- Keychain supplies
- Swarovski
- Horn Necklaces
- Medieval Viking Horn Glasses


Oops! Page Not Found.
Sorry but we are unable to find the page that you are looking for.
Back to Home
Subscribe to Our Newsletter
For product highlights and special offers.
By subscribing to our newsletter you agree to our Privacy Policy.
The website uses cookies to ensure you get the best experience on our website.